Naturally Home Consulting, LLC
  • Home
  • Contact Us
  • Marketing Material
  • Videos
  • About Us
  • Our Plans
  • Our Story
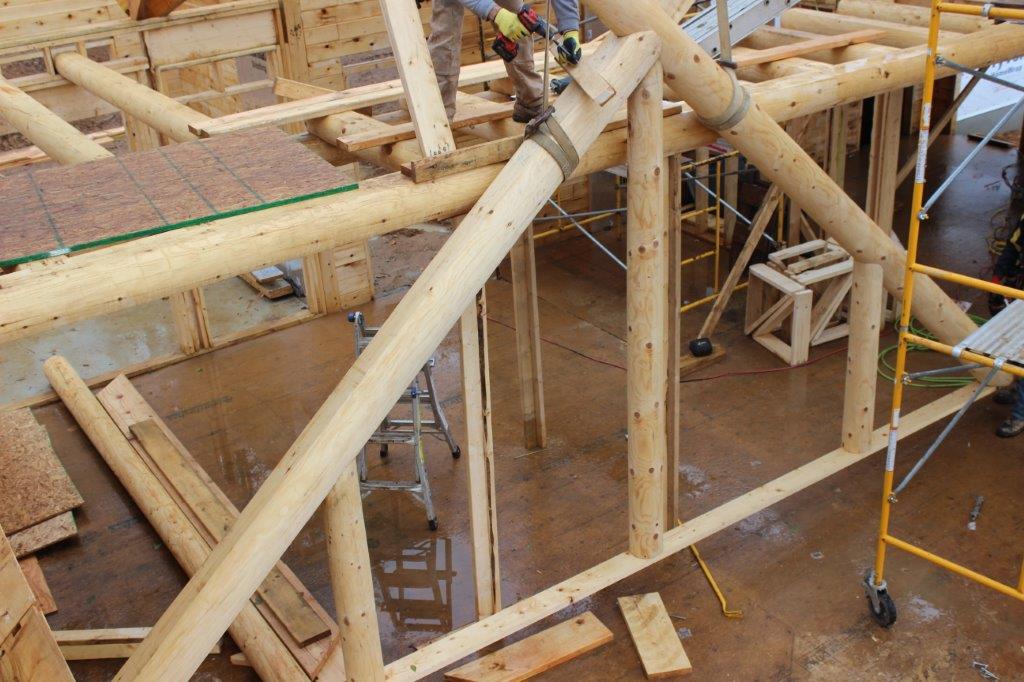
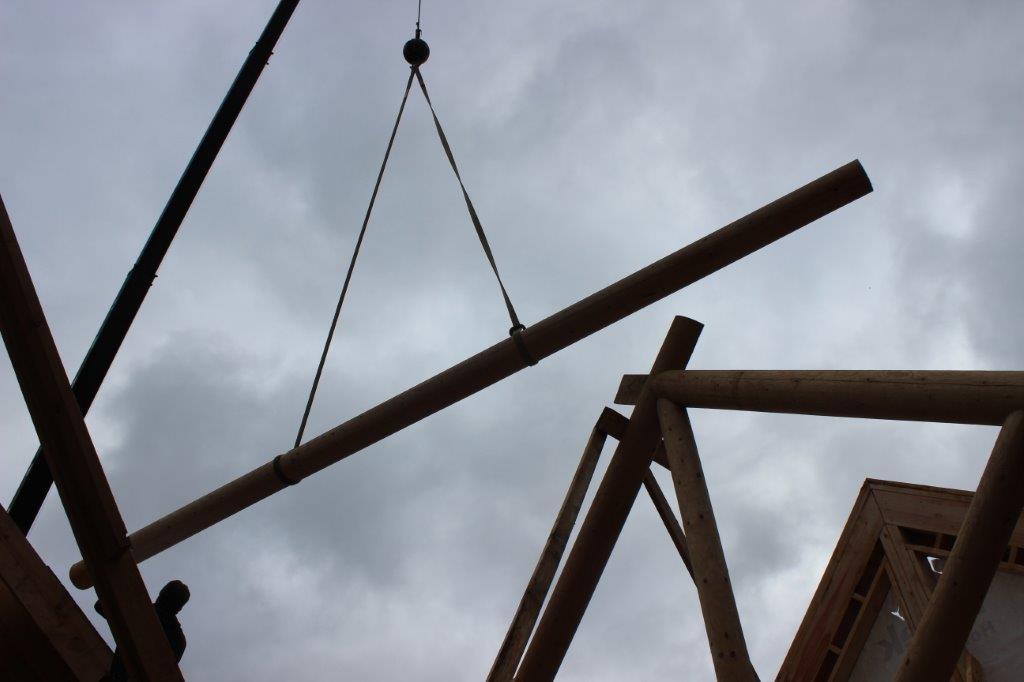
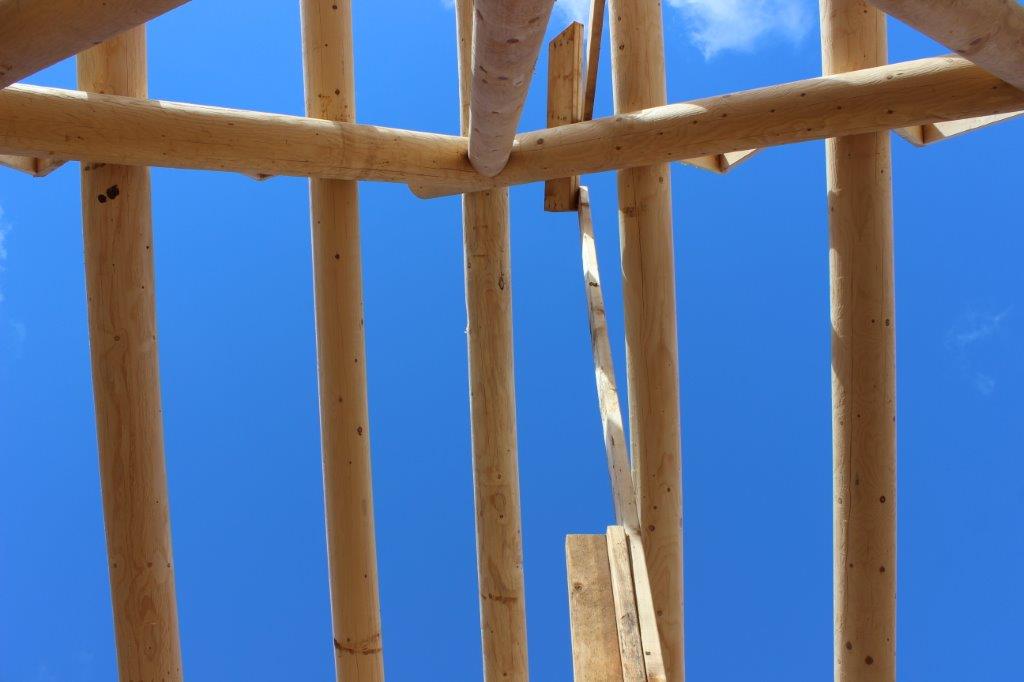
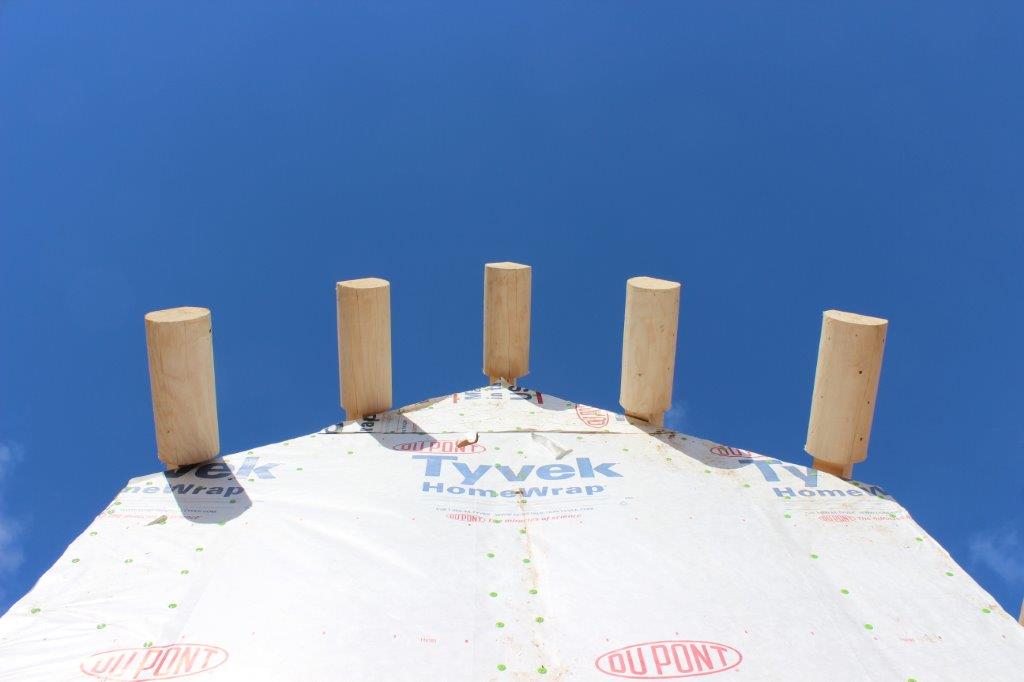
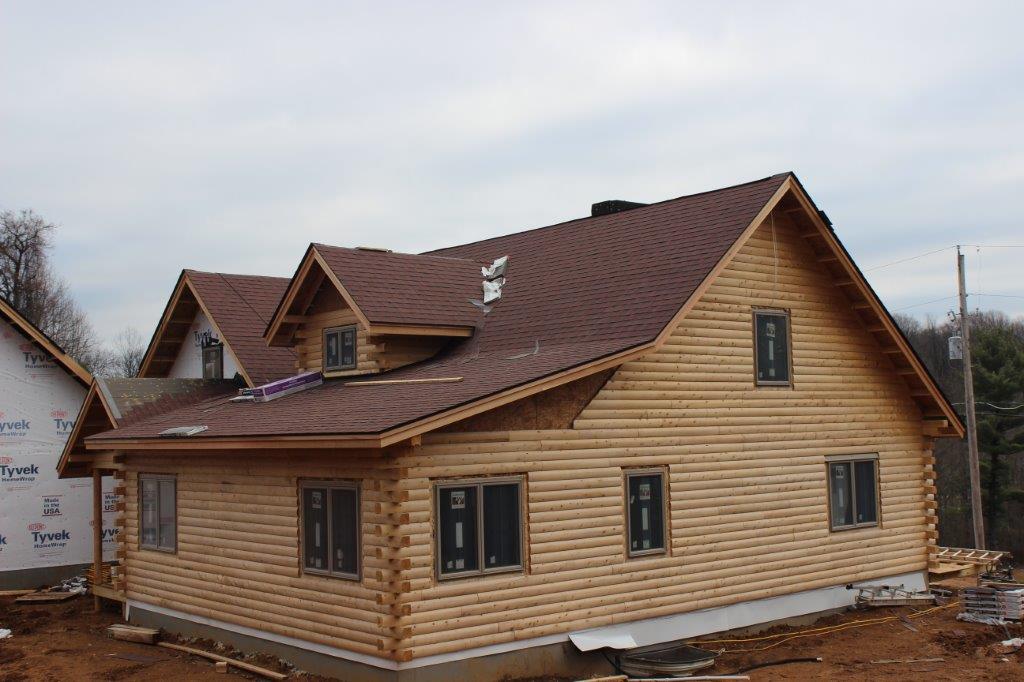
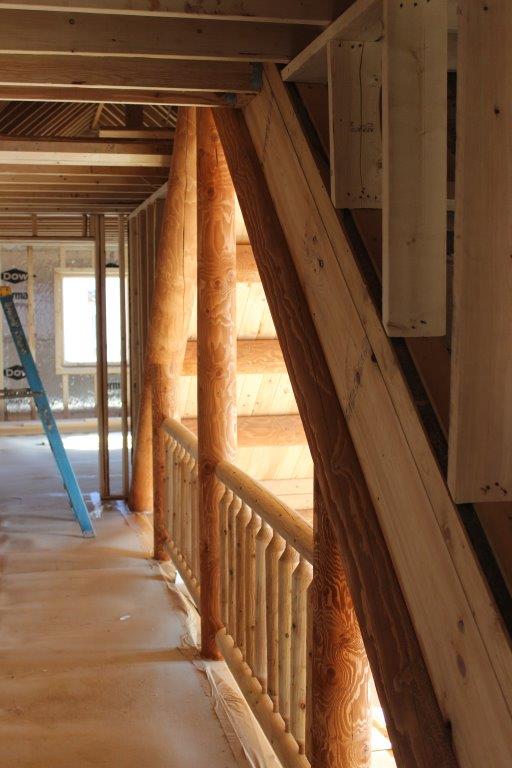
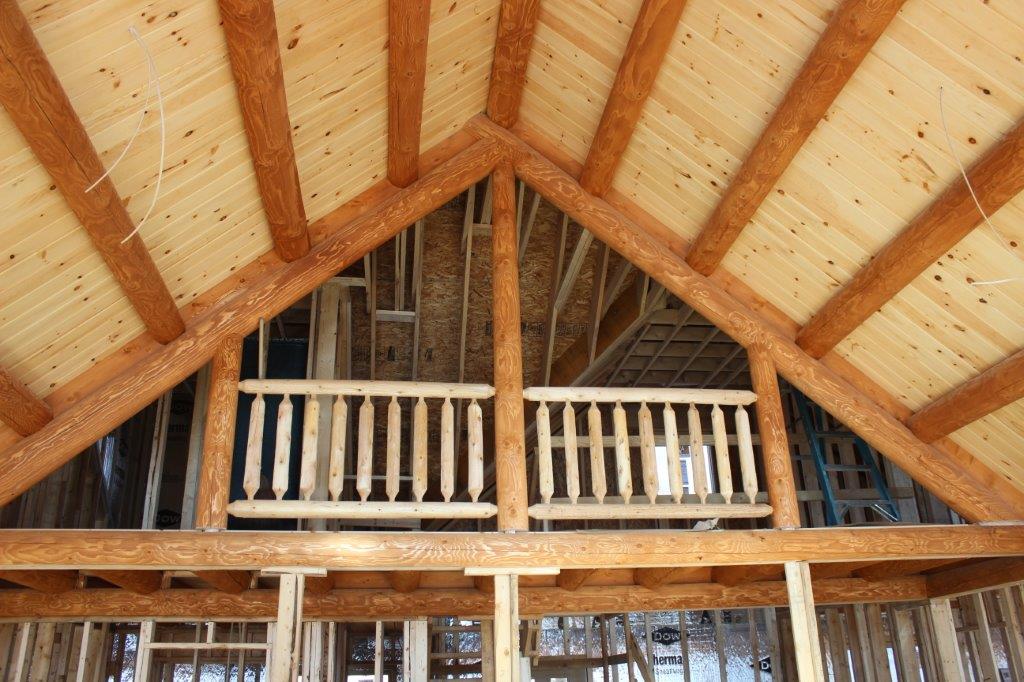
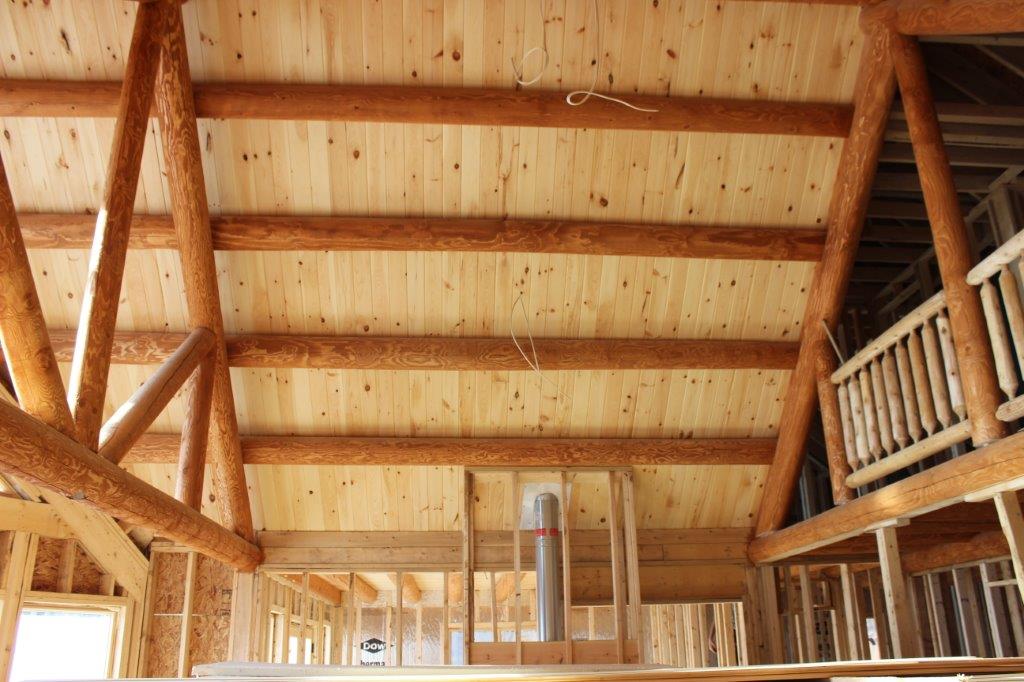
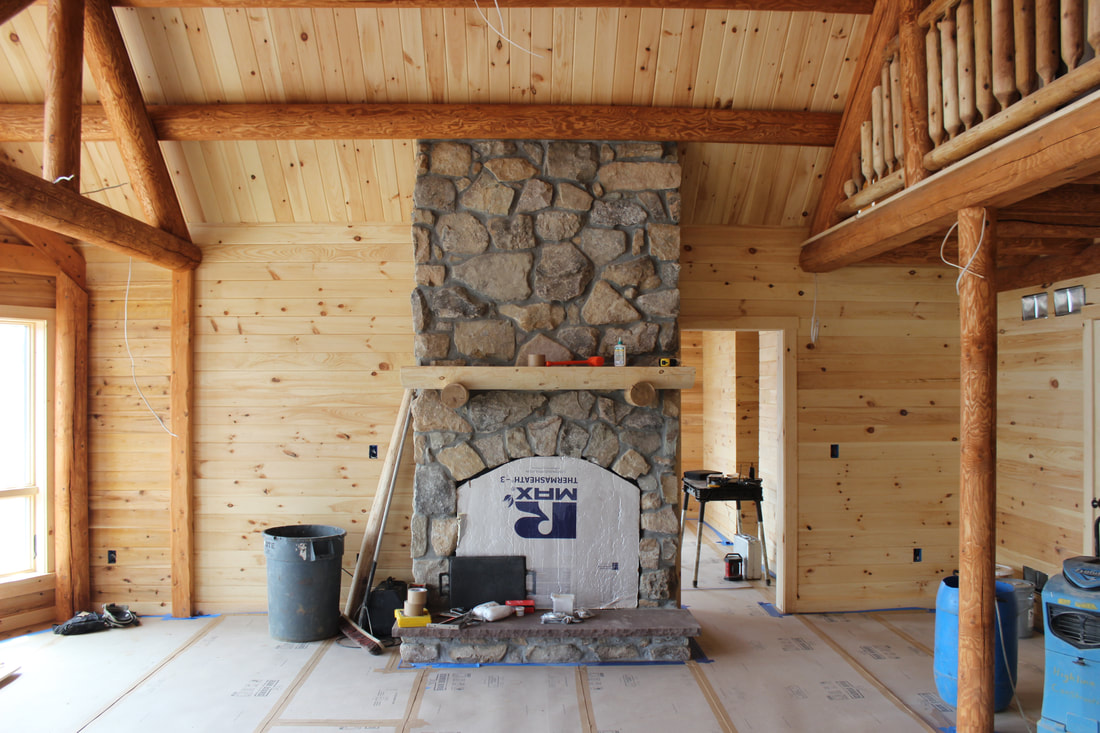
  • Other Construction Pics

The Boyertown

The floor platform is in place (included in the package), we're ready for the logs!
Here's a nice shot of the job site.  The foundation with the floor platform are in place and ready for the logs to be laid.
Stacking diagrams are used to help the builder focus on a specific section of the house. It shows which logs are to be used in this area.
Door and window bucks are custom frames that will be built into the log wall.  There's a 3/4" channel in middle of the buck where a cedar spline will be driven to ensure no air or water penetration.  When the doors & windows arrive, you just nail them in place.
This pictures shows a few rows of logs with a door buck and window buck in place.
This is the 1st of 3 truckloads of logs and other materials that are shipped from the mill.  We'll typically see some of the interior paneling on the 1st load so that the pine can be dried on-site.
Here we see that some of the floor joists for the 2nd floor have been put in place.  Note craftsmanship where the ceiling joist meets the support.
Where the floor joist for the 2nd floor meets the log wall, the joist is cut back so that the insulation package, air gap and wall board can be installed.
The client opted for conventional trusses without a bonus room in the garage area.  This will have tongue & groove pine applied for a beautiful garage.
All of our logs come pre-drilled and recessed so that the supplied lags and washers sit below the surface.  Each row of logs will have the lags staggered so that they don't hit each other.
The Lakeview has a mix of conventional rafters, trusses and purlins to support its roof.
This log truss was assembled on the ground.  It will be lifted into place by a crane.
Classic building practices mix with specialized practices when building a log home.  Here you can see that conventional rafters are attached using birdsmouth cuts and hurricane straps.
The Lakeview has a lot of glass on the bumpout, so we frame it and side it using log siding.  Here, the top of the gable wall is lifted into place.
After being assembled on the floor, the crane will lift the trusses into place.
Spruce purlins get pretty heavy, so a crane is typically used to install them as the crew fastens them into place.
A beautiful site.  This purlin roof is ready for the tongue & groove pine ceiling to be installed.
The end of the purlins will support a 1.5 - 2' roof overhang.  Since this wall is framed, sheeting is applied to reduce air penetration.
After the purlins were initially set in place the crew scribed the truss so that the purlin could rest in a cutout
Here we can see how the window buck with it's 3/4" channel sits snugly in the log wall.
In the standard Lakeview we used full logs for the dormer.  Optionally, framed dormers with log siding and false ends can be used to achieve the same look.
The customers decided to pre-stain the purlins and trusses.  They'll then clear coat everything for a beautiful look that shows off the personality of the wood.
This view shows how the butt and pass corners look.  We offer several options for the corners.
On 'window and door' day, the Andersen truck shows up with the standard patio doors and windows, the crew unloads them and starts to install them in the window & door bucks.  Each buck is custom made for the window or door that gets installed into it.
Here's a view of the window buck in the kitchen area.  The gap above the window will be insulated and flashing installed into the kerf that was cut in the log that serves as the header.
A closer look at the window installed into the buck.  Note how the logs are cut back so that the cedar trim can be installed.
Since the window buck is plumb we double check the window too.
Here's a nice shot from the road showing how the house looks with its windows and doors installed.
Here's the back of this modified Lakeview.  Another bedroom was added as was the garage.  The rear is technically the front of the house.
Here you can see that the bump-out was bumped out 3' from the standard Lakeview.  Another modification is connecting the decks and making one deck a covered porch.
Here's how the house is progressing from a bird's eye (or a copilot) view.
The customer chose the Pristine Sunset style from Atlas as their shingle choice.  Atlas Pinnacle series are part of the standard Katahdin package.
You can see that a hole was made for the truss rod, the plate and nut so that they can be hidden behind a plug.
in the Lakeview the upstairs bedrooms are connected by a catwalk that overlooks the great room.  You can see the purlins to the right of the railing.
A second look at the catwalk, this time from the great room.
The purlin roof is covered by tongue and groove pine, and supported by trusses.  You can see the chimney chase bottom center.
A close-up of how a log has been scribed and cut so that a floor joist can fit snugly on top.
Web Hosting by iPage